Troubleshooting: Excessive Flash in Closed-Die Forgings
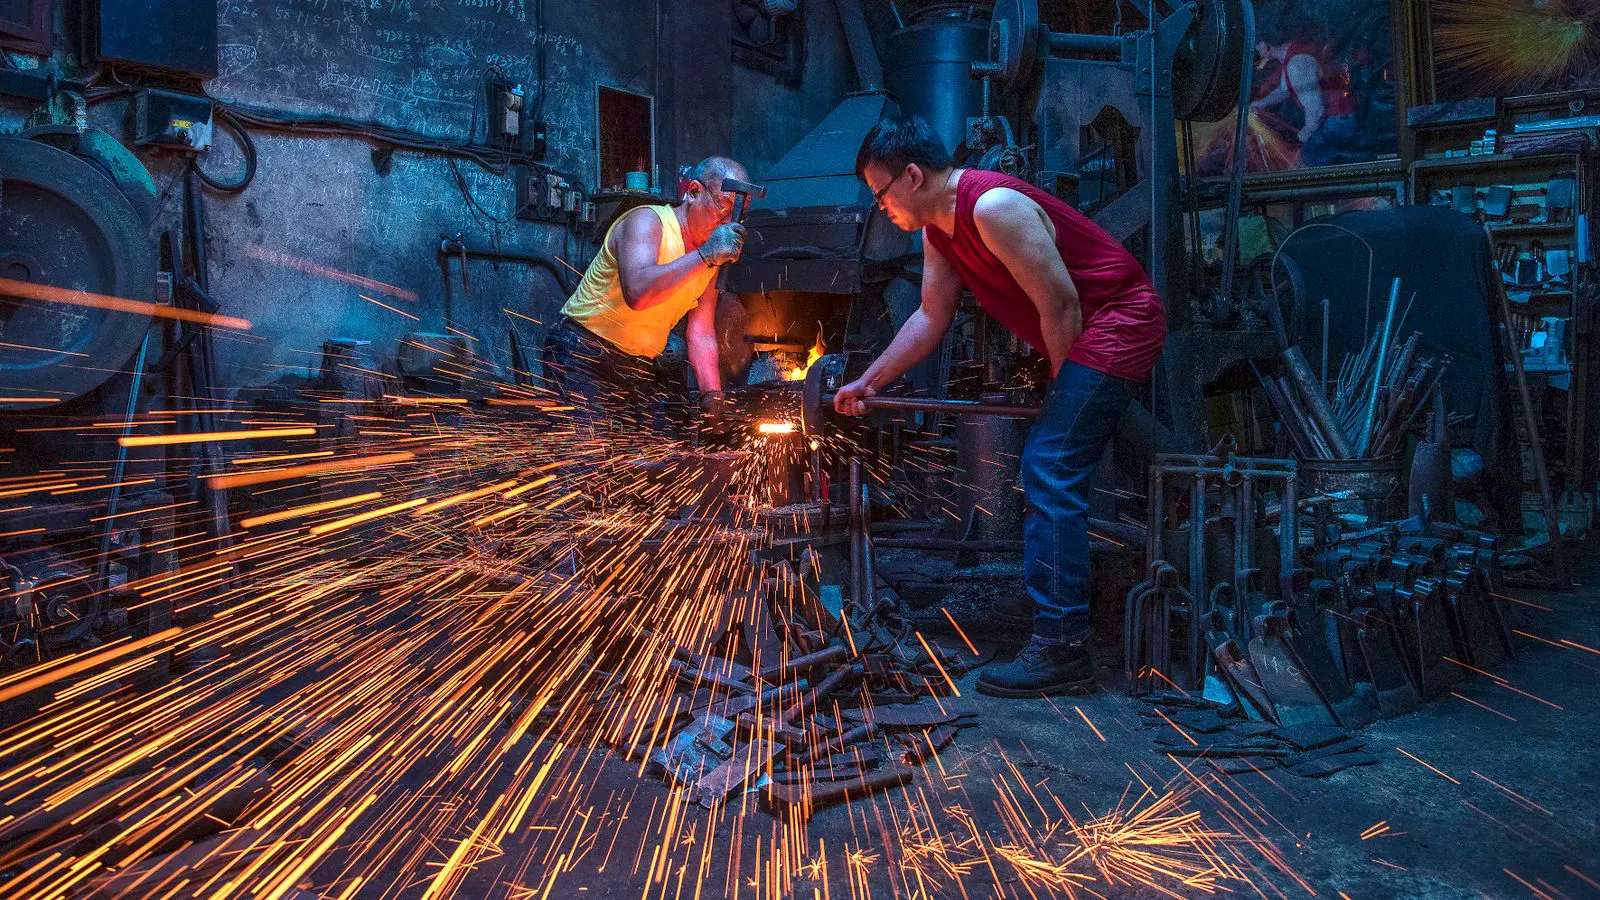
Excessive flash in forging is usually caused by die clearance, lubrication, or material flow problems. Correcting these factors reduces metal outside the part boundaries. This lowers machining costs and prevents scrap.
- Flash increases when die clearance exceeds the intended metal flow path.
- Insufficient lubrication or die wear creates friction that forces metal into the parting line.
- Material temperature and preforming shape directly affect where flash appears.
- Small, controlled adjustments to die gaps and lubrication often solve flashing without new tooling.
- Tracking flash patterns helps distinguish between die problems and process problems.
Why Flash Appears in Closed-Die Forging
Flash forms when metal escapes the die cavity and flows into the parting line. In a properly set closed-die forging, the die walls and the preformed blank work together to contain the material. When containment fails, metal squeezes out as a thin sheet along the split.
Engineers typically see flash at the die parting line, the corners of the die, or the edges of the final forging. The flash itself is not always a safety risk, but it creates problems downstream. Machinists must remove extra material. Inspection time increases. Part weight varies more than expected.
Flash also signals a deeper issue. It can point to a die that is out of adjustment, a lubricant that is not reaching the critical contact points, or a material that is too hot or too cold for the die geometry.
Common Symptoms of Excessive Flash
Before changing settings, observe the flash pattern. The location and shape of the flash often identify the root cause.
Flash at the die parting line
Thin, continuous metal along the split. This usually means the die gap is too large or the preforming is not filling the cavity evenly.
Flash at die corners or edges
Metal forced into sharp angles. This often indicates a die corner that is worn, or a preforming that is not shaped to guide metal into those corners.
Flash on one side only
One side of the die is receiving more pressure. This points to die alignment, preforming thickness variation, or a lubricant application issue.
Thick, irregular flash
The metal is not flowing smoothly. The part may be too hot, the lubricant may be broken down, or the die may be restricted.
Flash that changes from shot to shot
The process is unstable. Watch for material batch differences, die wear, lubricant depletion, or temperature drift.
Troubleshooting Table: Flash Symptoms and Fixes
Use this table to match the observed flash pattern to a likely cause and a corrective action.
| Symptom | Likely cause | What to do |
|---|---|---|
| Thin flash along the parting line | Die clearance too large or preforming not filling cavity | Check die gap with a feeler gauge. Adjust die shims or replace worn die pads. Recheck preforming thickness. |
| Flash at die corners | Worn die corners or preforming not guiding metal | Inspect corners for wear. Polish or replace die inserts. Adjust preforming radius to match die corner. |
| Flash on one side of the part | Die misalignment or uneven lubrication | Verify die alignment with a dial indicator. Check lubricant spray pattern. Adjust nozzle position or flow rate. |
| Thick, irregular flash | Material too hot or lubricant broken down | Monitor forging temperature. Reduce die temperature or adjust preheat. Replace lubricant if carbon is building on the die. |
| Flash that varies between batches | Material inconsistency or die wear | Log material heat treatment and chemical composition. Inspect die for wear. Track flash thickness by batch. |
| Flash after a long production run | Die wear or lubricant depletion | Schedule die inspection at regular intervals. Add lubricant top-up to the cycle. Replace die inserts when wear limits are reached. |
Die Adjustment Issues That Create Flash
Die adjustment is the most common cause of flashing. The die must contain the metal without creating a gap large enough for it to escape.
Die gap
The gap between the two die halves is the most direct control. If the gap is too wide, metal flows out. If it is too narrow, the die may bind or damage the part. Adjust the gap in small increments. Record the setting after each change.
Die pad thickness
Die pads, or inserts, control the final shape and clearance. Worn pads reduce the effective gap. If a pad is thinner than designed, the die closure tightens. This can force metal into unintended paths. Replace pads when they fall below the minimum thickness specified in the die drawing.
Die alignment
If one side of the die is higher than the other, the closure path is uneven. One side of the parting line may open before the other. This creates directional flash. Check alignment at the start of every shift and after any die change.
Die corner radius
Sharp corners concentrate stress. Metal forced into a sharp corner creates high pressure and flash. If the design allows, increase the corner radius. If the corner is critical to the part, ensure the preforming has a matching radius.
Lubrication and Material Flow
Flash often forms where metal and die metal touch. Lubrication reduces friction and helps the metal flow into the die cavity.
Lubricant type
Closed-die forging uses many lubricants. Some are oil-based, some are water-based, and some are dry. The choice depends on the material, die material, and part complexity. If the lubricant does not match the die and part, flash increases.
Lubricant application
The lubricant must reach the critical contact points. A spray pattern that misses the die parting line or the preforming surface will not prevent flash. Check the nozzles for blockage. Verify the application angle. Adjust the mist or spray to cover the full contact area.
Lubricant breakdown
High temperatures and friction break down lubricant. Carbon deposits build on the die surface. This increases friction and forces metal into the parting line. Inspect the die for carbon buildup. Clean or replace lubricant as needed.
Material temperature
Temperature controls how the metal flows. If the preforming is too cold, it does not fill the die cavity evenly. Metal that is too hot flows too freely and can escape the die. Monitor the temperature at the preforming stage. Keep the range narrow.
Preforming and Material Preparation
The preforming is the blank shape that enters the die. If the preforming is wrong, the die cannot contain the metal.
Preforming thickness
The thickness of the preforming must match the die cavity. If it is too thick, the die cannot close fully. Metal escapes. If it is too thin, the die closes too tightly and may bind. Check the preforming thickness at regular intervals. Adjust the preforming machine if the variation exceeds the die tolerance.
Preforming shape
The preforming shape guides the metal into the die. If the shape does not match the die cavity, metal will flow into unintended paths. This creates flash at specific locations. Review the preforming drawing. Check the preforming tool for wear. Adjust or replace the preforming tool as needed.
Material condition
The material must be in the correct condition for forging. If the material is too hard, it does not flow. If it is too soft, it flows too easily. Check the heat treatment. Verify the chemical composition. Log material batch and condition with each production run.
Prevention Tips for Consistent Flash Control
Prevention is easier than troubleshooting. Build flash control into the production process.
Set die clearance at the start of the run
Adjust the die gap before the first hit. Record the setting. Verify the flash on the first few parts. Do not start production until the flash is within the acceptable range.
Inspect die wear regularly
Wear changes the die clearance. Inspect the die at regular intervals. Use feeler gauges to measure the gap. Replace worn parts before flash becomes a problem.
Monitor lubricant application
Check the lubricant spray pattern at the start of each shift. Verify the flow rate. Clean the nozzles. Replace the lubricant when it shows signs of breakdown.
Track flash thickness
Measure the flash on a sample of parts each shift. Log the thickness. If the flash increases over time, investigate the cause. A trend is easier to catch than a sudden failure.
Review process changes
Any change to material, temperature, lubricant, or die setting can affect flash. Document the change. Monitor the flash after the change. If the flash increases, revert to the last known good setting.
Use die drawings and specifications
The die drawing shows the intended clearance, corner radii, and pad thickness. Use these values as the baseline. Do not adjust beyond the specified limits without engineering approval.
When to Escalate
Some flash problems require more than a die adjustment. If the flash persists after correcting the gap, lubrication, and preforming, look deeper.
Check the die for cracks or internal damage. A cracked die can change the closure path. Check the preforming machine for wear. A worn preforming tool can create inconsistent blank shapes. Check the material for inclusions or defects. A material defect can create localized flash.
If the flash is tied to a specific part of the die, consider the die design. A design that concentrates stress may need a revision. A revision may require new tooling. Weigh the cost of revision against the cost of machining and scrap.
Closing
Excessive flash in forging is a signal, not just a defect. It tells you where the process is losing control. The die, the lubricant, the material, and the preforming all interact. When one changes, the flash changes.
Start with the symptom. Match it to a likely cause. Make a small, measured adjustment. Verify the result. Record the change. This disciplined approach keeps flash under control and protects the machining operation.
Frequently asked questions
Can excessive flash be fixed by adjusting the die gap alone?
Not always. Die gap is a common cause, but flash can also come from lubrication, material temperature, or preforming shape. Check the full process before assuming the gap is the only issue.
How do I know if die wear is causing flash?
Measure the die gap with a feeler gauge at regular intervals. If the gap is larger than the initial setting, the die is wearing. Replace or rework the die when the gap exceeds the tolerance.
Does flash thickness affect part weight?
Yes. Flash adds material that must be machined away. This changes the final part weight and can affect balance and tolerance.
What is the best way to track flash over time?
Measure the flash thickness on a sample of parts each shift. Log the value with the production batch. A trend line makes it easier to spot drift.
Can lubricant type change the amount of flash?
Yes. The lubricant must match the die material, part material, and process temperature. A lubricant that breaks down or does not reach the contact points increases friction and flash.