How to Plan a Forging Process for High-Volume Metal Parts
Forging process planning starts with part geometry and material selection. Define volume targets, die style, and heat treatment. Structure the plan around die life, cycle time, and defect inspection to ensure stable high-volume production.
- Define part geometry, material, and volume targets before selecting a die style.
- Open die suits long, irregular shapes; closed die suits high-volume, precise components.
- Build in die maintenance, heat control, and defect checks into the production plan.
- Validate the plan with trial runs and measurement checks before full-scale output.
Start with the Part, Not the Press
The first step in any forging process planning project is understanding the part. Engineers, buyers, and production managers must review the drawing package before discussing equipment or dies. The geometry, wall thickness, corners, and internal features drive every downstream decision.
A flange, shaft, or gearbox housing requires different handling than a simple bar or pin. Check the minimum wall thickness and corner radius early. Thin walls crack easily during forging. Sharp corners concentrate stress and shorten die life. If the drawing includes features that cannot be forged cleanly, return to the design team before tooling starts.
Consider the volume of material the part contains. A heavy structural component demands different energy input than a lightweight automotive bracket. The mass of the part, combined with the yield strength of the alloy, determines the force required to deform it. If the drawing shows a deep cavity with a thin lip, that lip will likely tear if the surrounding metal does not flow evenly.
Also review the material specification. Carbon steel, low-alloy steel, aluminum, titanium, and other alloys behave very differently under impact. Some materials require higher temperatures, others demand stricter cleanliness. The material choice affects die design, heat control, and post-forging operations. For example, forging low-alloy steel often requires preheating to prevent cracking, while aluminum forging happens at lower temperatures but requires dies that can handle rapid thermal expansion.
Define Volume and Production Constraints
High-volume production means the forging process planning must account for cycle time, die life, and labor. Estimate the annual or monthly part count. A part run of ten thousand units per month requires a different press and die setup than a run of one hundred thousand.
Production constraints include shift patterns, changeover time, and maintenance windows. If the line runs three shifts, the die must survive repeated heating and impact cycles. Plan for die changes, inspection, and reconditioning. Without this buffer, downtime extends and output drops.
Set a target cycle time. This is the time from part placement to finished forging removal. Include loading, striking, and unloading. A realistic cycle time prevents over-promising to customers and helps select the right press tonnage.
Think about the logistics of material handling. If the part is large, the loading mechanism must be able to reach the die cavity. If the part is small and heavy, automatic feeders may be needed to maintain speed. The transfer of the hot part from the furnace to the press involves heat loss. The closer the furnace is to the press, the tighter the temperature window remains.
Choose Between Open Die and Closed Die Forging
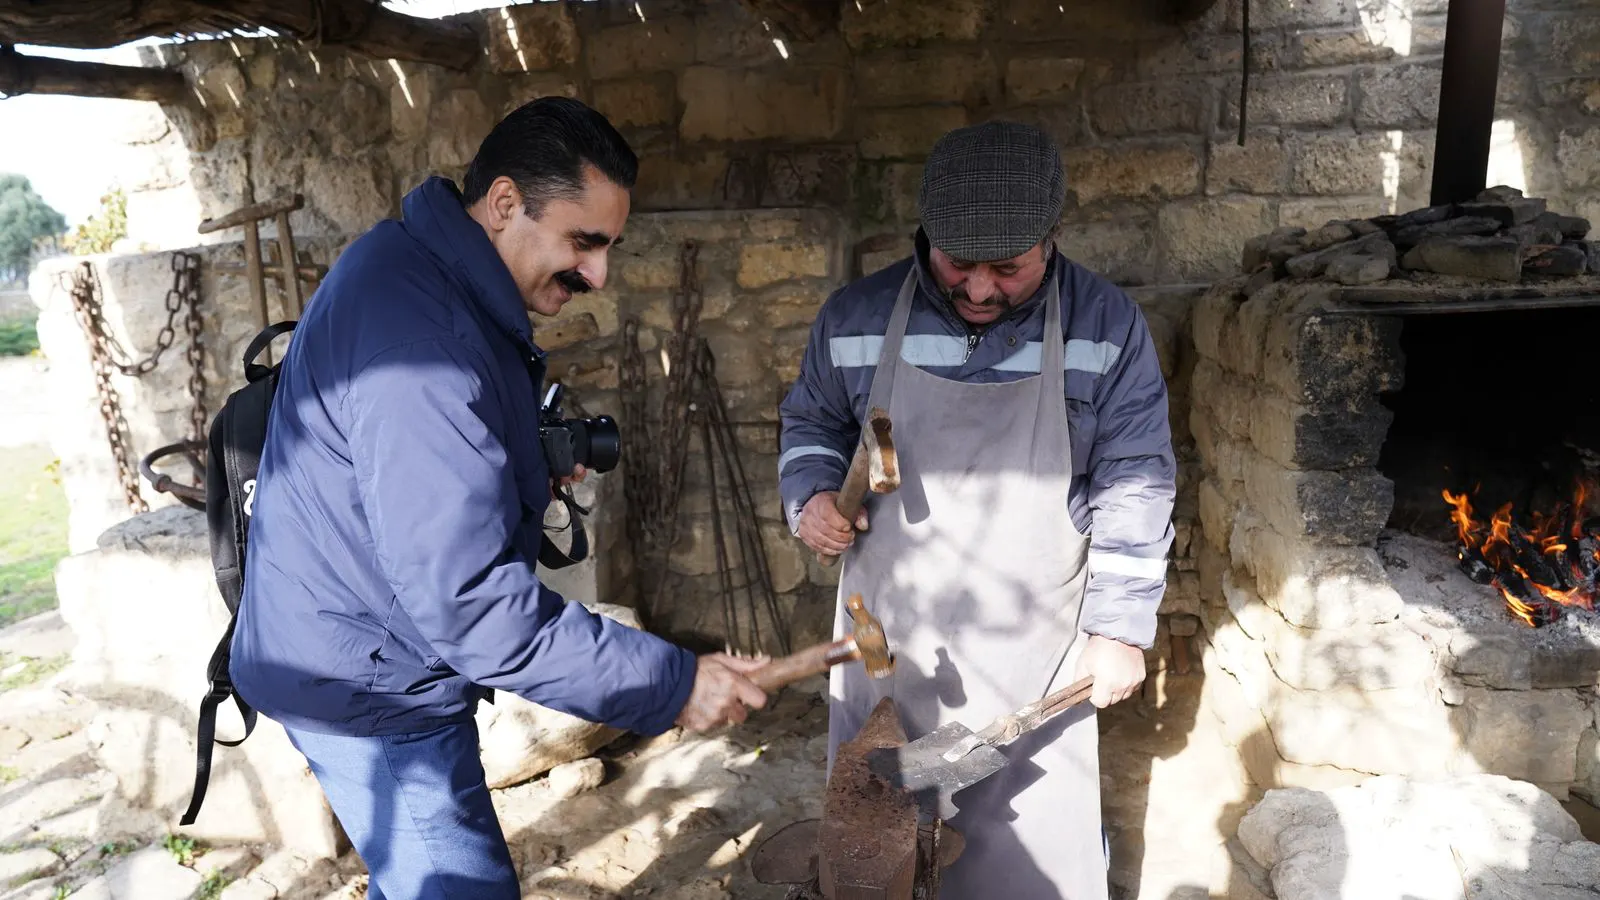
Open die forging uses two or more dies that do not fully enclose the metal. It is well suited for long parts, bars, and shapes with irregular cross-sections. The metal flows outward, so the process is less constrained but less precise.
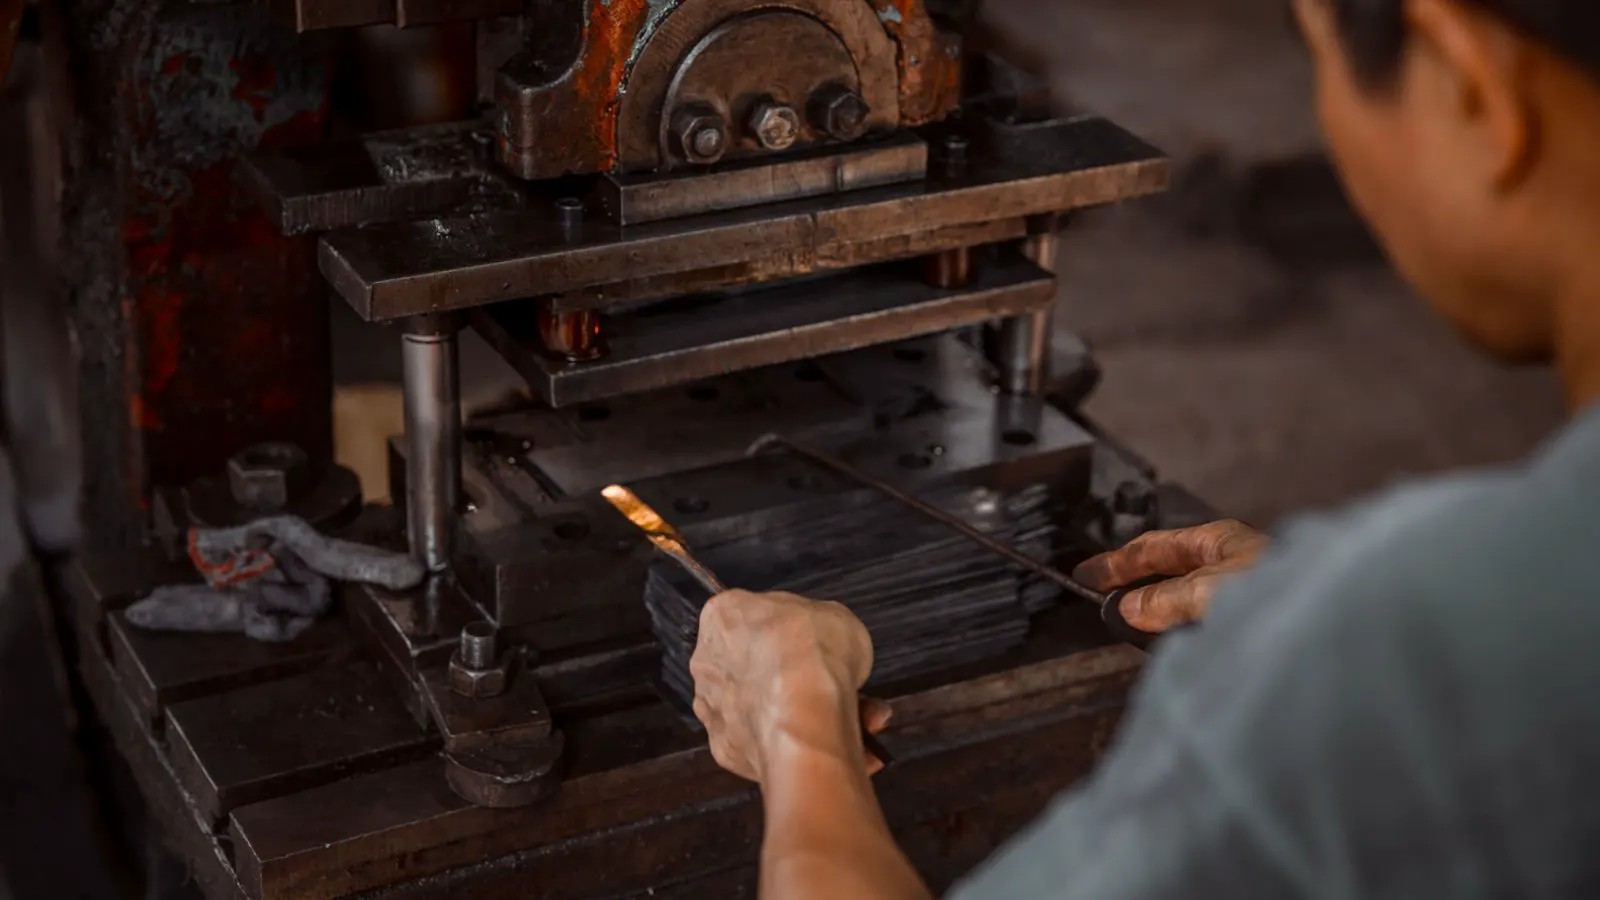
Closed die forging uses a die set that fully or nearly fully encloses the workpiece. This method is better for high-volume parts with tight tolerances and complex shapes. The metal is forced into a cavity, producing cleaner surfaces and closer dimensional control.
Selecting the right method depends on part geometry and production rate. A simple round bar may use open die. A flanged hub or bearing race may require closed die. If the drawing includes complex fillets or thin sections, evaluate whether the geometry can be achieved without excessive material flow.
Open die forging is often the starting point for new products. It allows for quick prototyping and easier die maintenance. Closed die forging requires more upfront investment in die design and setup. However, once the process is stable, closed die offers superior consistency for mass production.
Plan the Die Design and Material
The die is the heart of the forging process planning. Die material selection affects hardness, wear resistance, and thermal stability. Common die materials include high-carbon steels, tool steels, and aluminum alloys for aluminum work. Harder dies last longer but can crack if not tempered correctly.
Die geometry must match the part. Consider draft angles, parting lines, and ejector features. In closed die forging, the cavity must allow metal flow without trapping air or causing cold shuts. In open die forging, the dies must guide the metal without over-constraining it.
Review the die life target. A die used for a short production run may have lighter reinforcement. A long-run die needs thicker sections, better cooling channels, and a robust mounting system. The die design should also allow for inspection and repair between production runs.
For aluminum forging, die material selection is critical. Aluminum is soft and abrasive, so tool steels are often preferred over carbon steels to resist wear. The die must also handle rapid temperature changes without developing micro-cracks. Proper cooling channels, often water-cooled, help manage the thermal load during long production runs.
Set Up Heat Control and Material Preparation
Forging requires the metal to be at the correct temperature. Too cool and the material resists flow. Too hot and oxidation increases, scale forms, and the metal weakens. The heat control plan must specify heating method, temperature range, and holding time.
For high-volume production, consider continuous heating or batch heating. Continuous furnaces hold temperature more steadily. Batch furnaces offer more flexibility but require tighter control during changeovers. Monitor temperature with thermocouples or infrared sensors.
Prepare the metal stock before it reaches the die. Remove scale, burrs, and surface defects. Inspect the raw material for inclusions or cracks. A clean workpiece reduces die wear and improves surface finish. If the material is pre-forged or pre-formed, document the starting geometry.
The heating zone must be uniform. Hot spots on the workpiece can lead to uneven forging and surface defects. Using a furnace with precise temperature zoning helps maintain consistency across the production run. For sensitive alloys, the heating atmosphere may need to be controlled to minimize decarburization or oxidation.
Design the Forging Sequence and Operations
The forging sequence defines how the metal moves through the die. A single strike may be enough for a simple part. Complex parts may require multiple blows or multiple die sets. Each step must be justified.
For open die forging, the sequence may start with a roughing blow, then a finishing blow. For closed die forging, the sequence may include a pre-forging step to reduce volume, then a final die strike for shape and size. Document each step with a sketch and a reason.
Post-forging operations also belong in the plan. Grinding, machining, heat treatment, and cleaning follow the forging. If the part requires heat treatment, specify the cycle. If the part needs machining, note which surfaces must be left rough and which must be finished.
Consider the direction of metal flow in the sequence. Forging a part with a long neck and a wide head requires careful planning to ensure the metal flows into the head without necking down. A two-step process might first form the head, then reduce the neck. Each step should be designed to minimize the risk of cracking or cold shuts.
Build in Quality Checks and Defect Control
High-volume production demands consistent quality. The forging process planning must include inspection points at every major stage. Check the raw material, the heated workpiece, the forged part, and the finished product.
Common defects include cracks, inclusions, cold shuts, and surface scale. Each defect has a cause. Cracks often come from overheating or poor material quality. Inclusions can come from raw steel impurities. Cold shuts form when air is trapped in the die cavity.
Assign inspection methods. Visual checks catch surface issues. Dimensional checks verify size. Hardness tests confirm heat treatment. Sampling frequency should match production volume. A tight-tolerance part may require 100 percent inspection. A lower-tolerance part may allow statistical sampling.
Implement a feedback loop between inspection and production. If defects appear at a specific point, trace the cause back to the process. Was the temperature too low? Was the die worn? Was the raw material out of spec? Correcting the root cause prevents recurring defects and improves yield.
Common Mistakes in Forging Process Planning
One common mistake is selecting equipment before defining the part. The press tonnage, die size, and cycle time all depend on the geometry and material. Without a clear part definition, the plan drifts.
Another mistake is ignoring die life. A die that wears quickly causes downtime and inconsistent output. Design the die for the expected production volume. Include inspection and reconditioning intervals.
A third mistake is skipping trial runs. Trial runs reveal problems in metal flow, temperature, and die alignment. Run a small batch before full-scale production. Measure the parts. Check the dies. Adjust the process before committing to volume.
| Planning Factor | Open Die Forging | Closed Die Forging |
|---|---|---|
| Best part shapes | Long bars, irregular cross-sections | Complex, precise components |
| Tolerance control | Moderate | High |
| Material flow | Outward, less constrained | Inward, constrained by cavity |
| Die complexity | Simpler | More complex |
| Production volume | Moderate to high | High |
| Defect risk | Surface scale, uneven flow | Cold shuts, trapped air |
Final Verification Before Production
The last step in forging process planning is verification. Run a trial batch under production conditions. Measure the parts against the drawing. Inspect the dies for wear or cracking. Review heat logs and cycle times.
Confirm that the process produces the required surface finish and dimensional accuracy. Check that the heat treatment meets specification. Verify that inspection records are complete and traceable.
If the trial batch passes, approve the process for production. Document the approved parameters. Store the die drawings, heat logs, and inspection records. This documentation supports future audits and helps when the process needs adjustment.
A well-planned forging process keeps production stable. It reduces defects, extends die life, and protects the final product. The plan should be a living document. Review it after each production run and update it based on real performance.
Frequently asked questions
How do I know if a part needs closed die forging?
If the part has tight tolerances, complex shapes, or requires high-volume consistency, closed die forging is usually the better choice.
What is the main advantage of open die forging?
Open die forging is simpler and more flexible for long or irregular shapes, but it offers less precise dimensional control than closed die.
How should I plan die life for a high-volume run?
Select a die material and geometry matched to the part volume. Include inspection and reconditioning intervals in the production schedule.
What defects should I watch for during trial runs?
Watch for cracks, inclusions, cold shuts, and surface scale. Each defect points to a specific process or material issue that can be corrected.
Do I need heat treatment after forging?
Yes, if the part requires specific hardness or toughness. Include the heat treatment cycle in the forging process planning and verify it with hardness tests.