Outlook: Closed-Die Forging Automation and Robotics
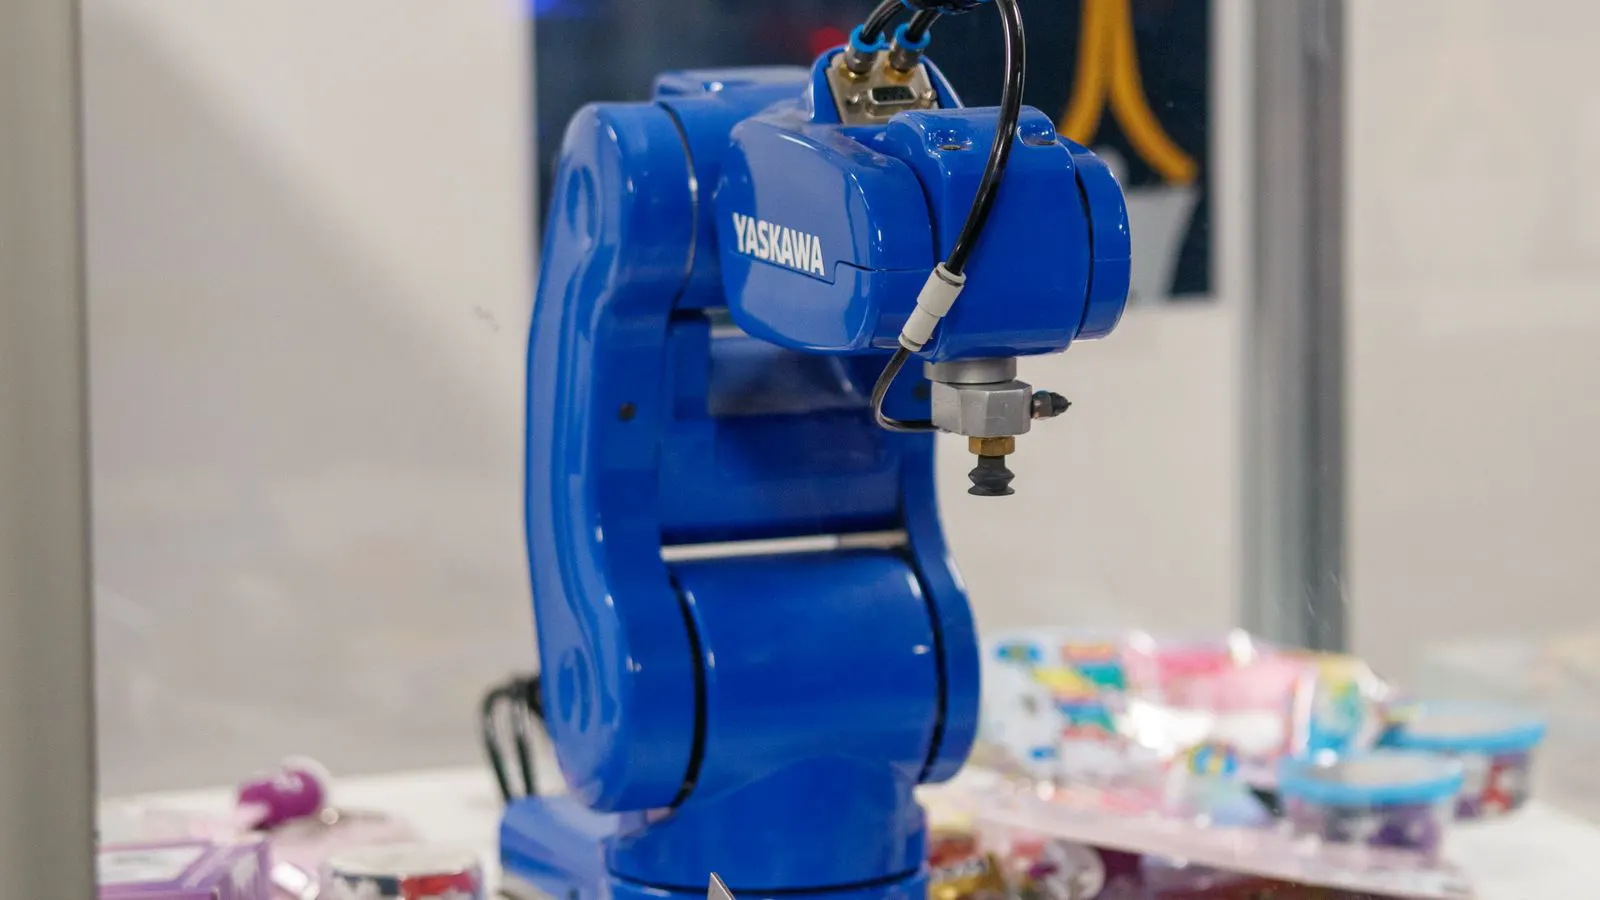
Closed-die forging automation changes how teams manage cycle times, die wear, and labor. This outlook covers five shifts buyers should plan for, from robot integration to data-driven maintenance, to prepare operations for efficient production.
- Automation shifts labor focus from manual placement to oversight of robotic cells and die monitoring.
- Closed-die forging automation requires reliable data links between machine controllers, sensors, and maintenance logs.
- Tooling life and die wear become central to planning automated line throughput and downtime.
- Buyers should evaluate vendor support for integration, safety systems, and spare parts availability.
Why Closed-Die Forging Automation Changes Production Planning
Closed-die forging automation moves the process from labor-intensive handling to controlled, repeatable machine operation. In a typical setup, a robot or mechanical hand positions the billet, the forging press strikes the part, and a second unit moves the finished forging to a quench tank, inspection station, or next tooling cell. The result is tighter cycle times and fewer operator errors, but the production plan must adapt.
Operations leaders should treat automation as a systems change, not just a faster press. The shift affects die maintenance, material flow, safety zoning, and how data is captured. A line that once ran with two or three operators per shift may now run with one technician and a team of remote monitors. The equipment is faster, but the failure modes are different. When a robot misplaces a billet, the die can take damage that a human operator might have prevented by hand. When a sensor misses a wear pattern, the downtime cost is higher because the line is expected to run continuously.
Shift 1: From Manual Placement to Robotic Cells
The first shift is in how billets are handled. Manual loading and unloading are slow and inconsistent. A robot can place a pre-weighed billet into the die with repeatability that a human cannot match. This matters for closed-die forging because die fill and material flow depend on consistent starting geometry. If the billet sits off-center, the strike can create uneven filling, extra rework, or die damage.
Robotic cells also change the physical layout. The area around the press must accommodate safe robot paths, sensor zones, and material staging. A typical cell needs space for the billet feeder, the robot, the press, and the unload station. If the existing floor is tight, the automation project may include a new cell layout rather than a simple upgrade. Buyers should check that the die and die holder are compatible with robotic placement. Some dies require a specific billet size or orientation that a robot can handle easily. Others need a fixture or guide that must be designed and tested.
The practical preparation step is to define the billet specification. Weight, length, and tolerance must be stable enough for the robot to place it reliably. If the mill supply varies, the robot may reject billets that are out of tolerance. That rejection rate becomes a production variable. Teams should build in a check at the staging area to verify billet quality before the robot takes it to the die.
Shift 2: Die Wear Tracking Becomes a Data Problem
The second shift is in how die life is managed. In a manual operation, a die inspector may check for wear based on part appearance, cycle count, or a scheduled overhaul. With automation, the die is expected to run for longer stretches before a planned stop. That expectation creates pressure to catch wear earlier.
Closed-die forging automation works best when die data is captured at regular intervals. Sensors on the press can record force, tonnage, and cycle count. A data historian can track small changes in force that indicate die wear, lubrication loss, or alignment drift. When the trend shifts, the system can flag the need for inspection before the die fails. This changes the maintenance plan from calendar-based to condition-based.
The table below shows how die management changes with automation.
| Maintenance aspect | Manual operation focus | Automated operation focus |
|---|---|---|
| Die inspection | Scheduled or visual check | Trend monitoring from press data |
| Die changeover | Planned around downtime | Coordinated with production schedule |
| Tooling records | Paper log or basic spreadsheet | Linked to cycle count and part traceability |
| Failure response | Stop line, inspect, repair | Predictive alert, reduce risk of sudden failure |
The preparation step here is to define what data matters. Not every data point is useful. Force, cycle count, and die temperature are common. If the line also uses lubrication systems, flow rate and pressure data may matter. The goal is not to collect data for its own sake. The goal is to know when the die is changing in a way that will affect part quality or tool life.
Shift 3: Labor Roles Move Toward Oversight and Troubleshooting
The third shift is in the workforce. Automation does not remove all operators. It changes what operators do. Instead of loading and unloading billets, they monitor the cell, respond to alarms, perform inspections, and manage material flow. A single operator may oversee more than one cell if the line is stable.
This shift changes training requirements. Operators need to understand the robot, the safety interlocks, and the basic logic of the automated cycle. They should know how to clear a jam, verify a sensor, and confirm that the die is seated correctly. They should also understand the quality checks that happen after the press strike. If a part is rejected, the operator must know whether the cause is billet quality, die condition, or robot placement.
Buyers should plan for a transition period. The first weeks or months of running an automated cell are not the same as steady production. The team will tune robot paths, adjust sensor thresholds, and refine die maintenance routines. A common mistake is to expect full efficiency on day one. The line will need time to reach a stable state. During that time, the operator role is more intensive, not less.
Shift 4: Safety and Zoning Become Design Constraints
The fourth shift is in safety. A robot near a forging press introduces new hazard zones. The press itself is dangerous, but the robot adds moving parts, pinch points, and the risk of a billet being ejected. The safety system must be designed before the cell is built, not added after.
Light curtains, safety fences, and interlocks must work together. If a person enters the robot path, the robot must stop. If a die is open for inspection, the press must not strike. If a sensor detects an obstruction, the cycle must halt. These systems must be tested and documented. In a regulated environment, the safety design may need to meet specific standards, and the vendor should provide the required documentation.
The practical preparation is to walk the floor with the safety plan. Identify where the robot moves, where the billet travels, and where an operator must stand for inspection. Mark the zones clearly. Train the team on what each alarm means and what action to take. A small error in the safety layout can cause a near-miss or a shutdown. Better to define it early.
Shift 5: Vendor Support and Spare Parts Shape Long-Term Value
The fifth shift is in how buyers evaluate vendors. With manual operation, the main cost is the press and the die. With automation, the vendor relationship extends to integration, software, sensors, and spare parts. A robot arm may run for years, but the control software, sensors, and mechanical components may need replacement.
Buyers should ask vendors about support terms. Who handles integration with the existing press controller? Who provides the software updates? What is the lead time for spare parts? If a sensor fails during a critical production window, the cost of waiting for a replacement can exceed the part cost. A vendor with a local support office or a reliable parts network reduces that risk.
The preparation step is to map the critical components. Identify the parts that, if they fail, stop the line. The robot drive, the safety controller, the main sensor, and the die holder are typical examples. For each, define the minimum acceptable lead time and the backup plan. If a part is hard to source, consider a spare inventory. If the vendor can provide a quick-response service, that may be more valuable than a lower upfront cost.
How to Prepare: A Practical Checklist
The following numbered list gives a practical preparation path for operations leaders.
- Define the billet specification and confirm that the mill can supply it consistently.
- Map the current manual process and identify where the robot will take over.
- Choose a data set for die monitoring and define the alerts that matter.
- Design the safety layout and test all interlocks before production.
- Plan the training for operators and maintenance staff.
- Identify the critical spare parts and agree on vendor support terms.
- Set a trial period with clear success metrics, such as cycle time, rejection rate, and downtime.
The goal is not to rush automation. The goal is to build a system that can run reliably. A well-planned automated cell will improve efficiency, reduce defects, and extend die life. A poorly planned one will create new problems that were not present before. The difference is preparation.
What to Watch for in the Next Few Years
Closed-die forging automation will continue to mature as control systems become more reliable and sensors become cheaper. The trend is not just to add a robot. The trend is to connect the press, the die, the material, and the quality data into one system. Teams that capture and use that data will be able to plan production more accurately and reduce unplanned downtime.
Buyers should watch for improvements in die monitoring and predictive maintenance. If a system can predict die wear before it causes a failure, the production plan becomes more stable. They should also watch for better integration between the forging press and the rest of the plant. If the forging data flows into the next process, such as heat treatment or machining, the whole line benefits.
The practical takeaway is to prepare now. Define the billet spec. Choose the data set. Plan the safety layout. Train the team. Agree with the vendor on support. These steps are not optional. They are the difference between a line that runs smoothly and a line that struggles with the same problems it had before, only more expensive.
Frequently asked questions
Does automation always reduce labor costs in closed-die forging?
It often reduces the number of operators per cell, but it changes the labor mix. Teams need more skilled technicians who can monitor robots and interpret maintenance data.
How does robotics affect die life?
Robotics can improve consistency, but it also increases the cost of a die failure because the line is expected to run continuously. Good die monitoring is needed to protect tooling.
What is the main risk of adding a robot to an existing forging line?
The main risk is integration. The robot must work with the press controller, safety system, and material flow. Poor integration creates downtime and safety issues.
Should buyers buy the robot and the press from the same vendor?
Not always. Some buyers prefer a single vendor for simplicity. Others choose the best press and the best robot separately. The decision depends on integration support and long-term service.
How long does a new automated forging cell take to reach full efficiency?
It varies. Many lines need weeks of tuning. The first period is for stabilizing robot paths, sensor thresholds, and die maintenance routines.