How to Estimate Forging Costs for New Parts Without Experience

To estimate forging costs for new parts, build a model based on material, die, quantity, and post-fabrication. First-time buyers should use a structured checklist to avoid underestimating tooling or finishing requirements.
- Start with the part drawing and material spec before contacting vendors.
- Separate tooling costs from per-unit production costs in your model.
- Include post-fabrication steps like heat treatment and machining in the final price.
- Use multiple quotes to validate your assumptions against real market rates.
What you need before you start
Do not contact a supplier with only a sketch. A reliable cost estimate requires a defined set of inputs. Without these, any price quote is a guess. The buyer needs a detailed part drawing, a material specification, and a target production quantity.
The material specification is the foundation of the estimate. Forging is a bulk process. The density of the steel, the grade, and the source of the bar stock all affect the price. A high-alloy steel costs more per kilogram than a mild steel. The supplier will need to know if you require certified material with mill test reports.
The part drawing must show all critical dimensions. It should include tolerances, surface finish requirements, and any secondary operations. A forging is not the final part in most cases. It is a blank. The price of the blank must be separated from the cost of machining, heat treating, and inspection.
Step 1: Define the material and the starting stock
The first line item in a cost model is the raw material. Identify the specific steel grade. Common grades include carbon steels, stainless alloys, and high-strength low-alloy steels. The grade determines the base price per unit weight.
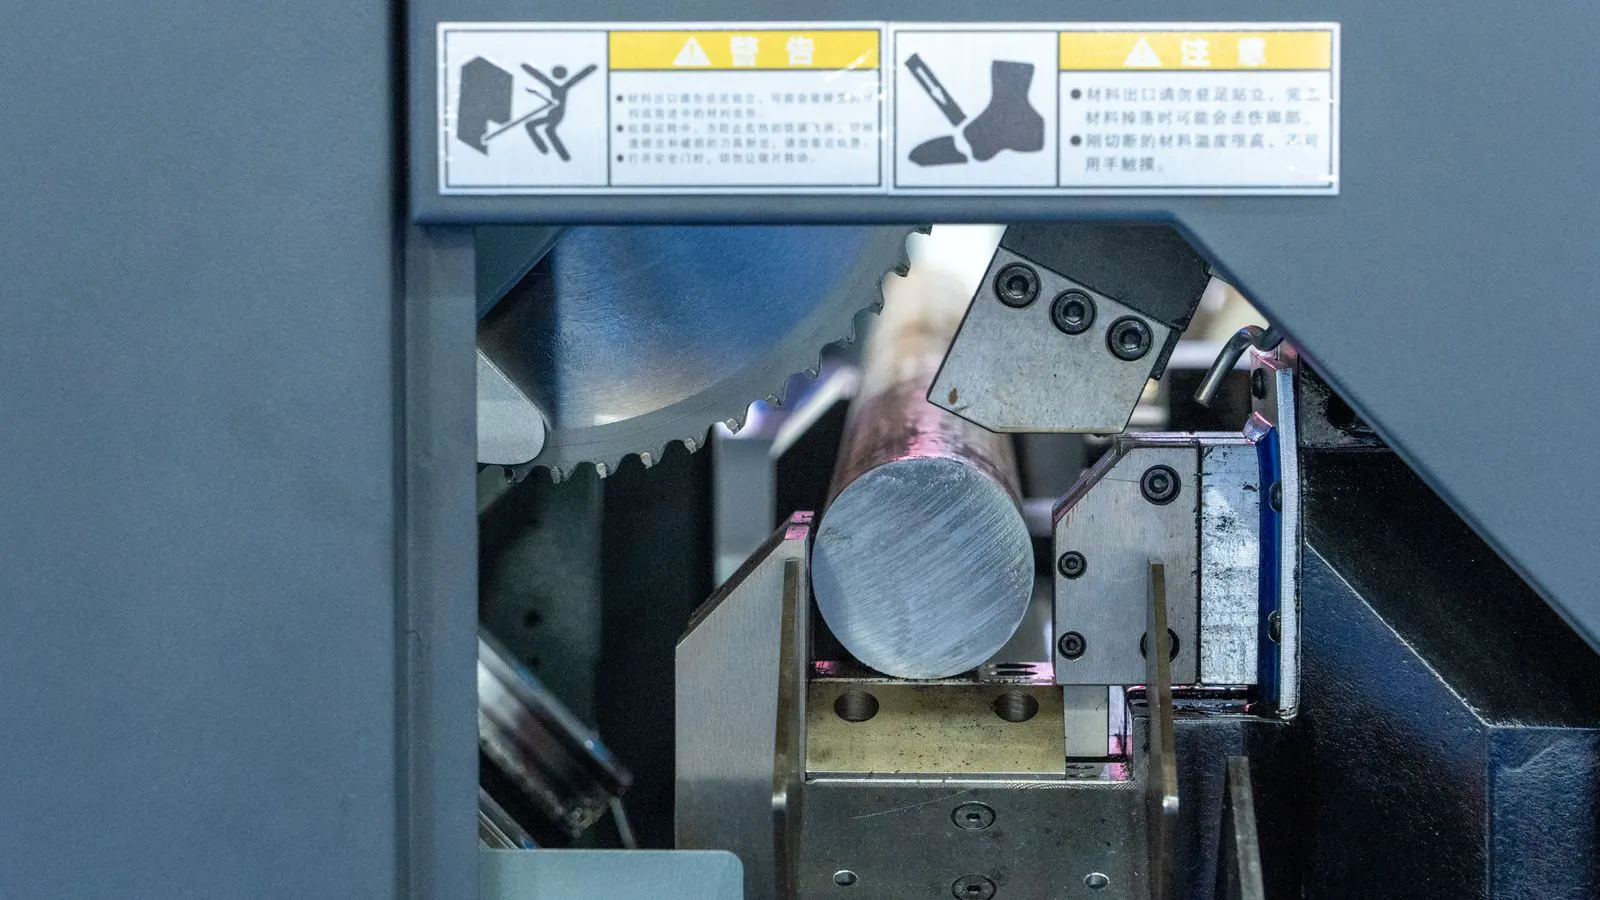
Next, define the starting stock. The supplier will use a standard bar, billet, or rod size. The cost of the raw material is calculated based on the weight of the stock required to produce the part. This includes the metal lost to scale, trimming, and grinding.
The reason for this step is to establish a baseline. If the material is wrong, the entire model fails. A 1% difference in material cost per kilogram can shift the total project budget significantly.
Step 2: Determine the forging process
Not all parts are made with the same process. The choice of process changes the cost structure. Open-die forging is often used for large, heavy parts. Closed-die forging, such as upset or hammer forging, is used for precision shapes.
The reason for this step is to align the process with the part geometry. A complex shape with sharp corners is difficult to forge. It may require multiple blows or a multi-cavity die. This increases the die cost and the cycle time.
Identifying the process early helps you understand where the money goes. For high-volume, simple shapes, the tooling cost is amortized quickly. For low-volume, complex shapes, the tooling cost is a large portion of the first few units.
Step 3: Estimate the tooling cost
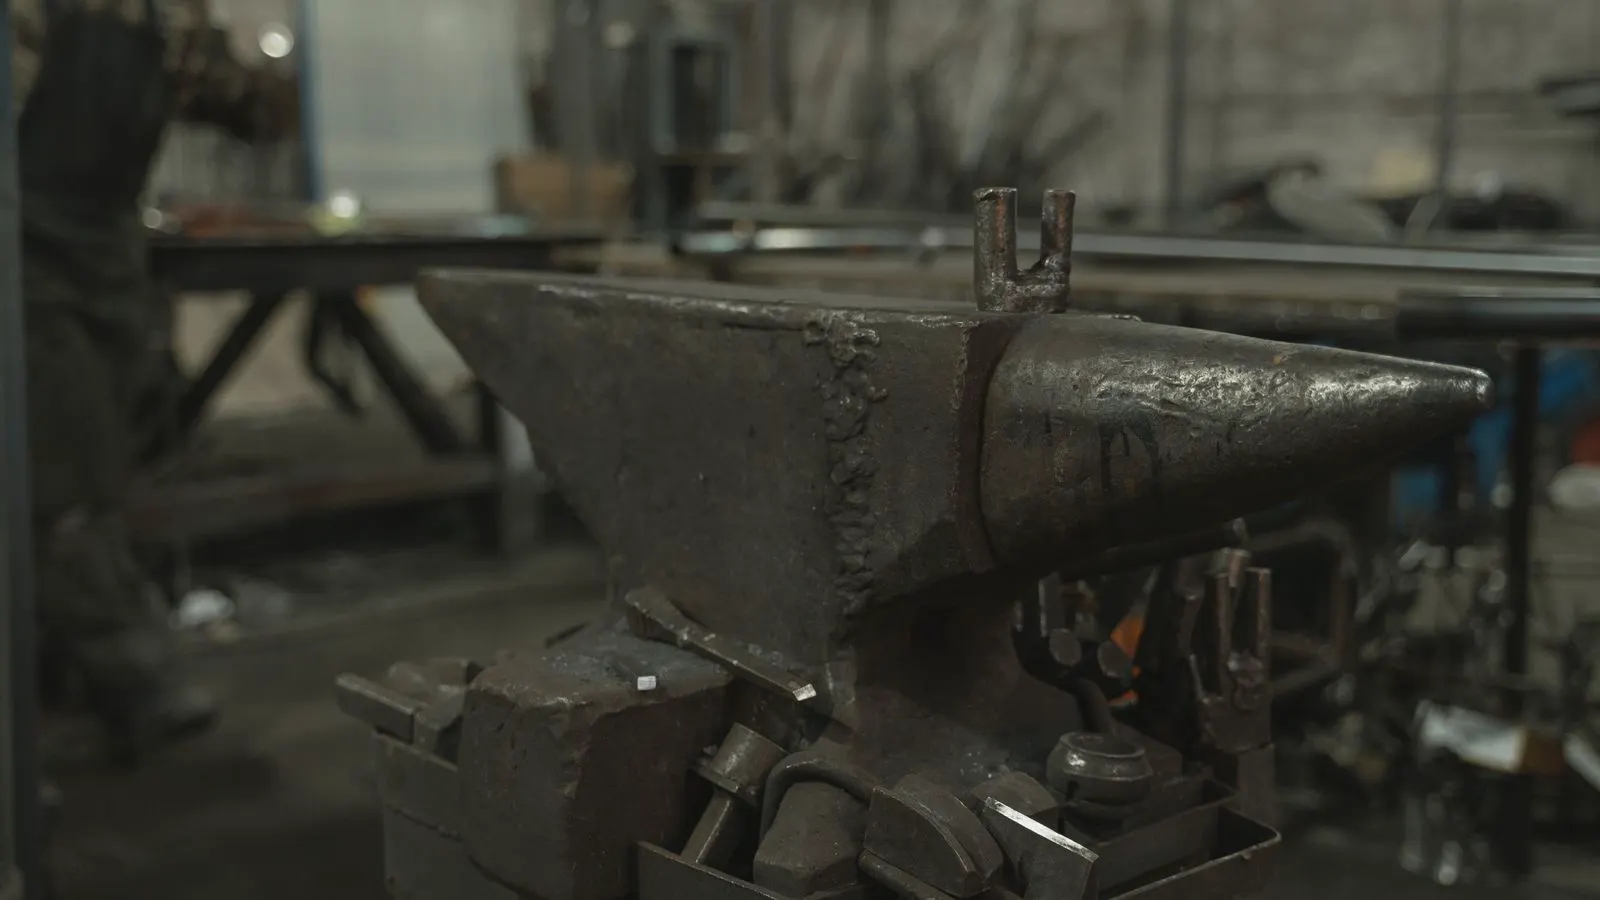
Tooling is the most common area where new buyers get surprised. The dies are molds made from hardened steel. They are expensive to design and machine. The cost depends on the complexity of the die, the material of the die, and the expected lifespan.
The reason for this step is that tooling is a one-time cost. It does not scale with production volume. For a small run of 500 parts, the tooling cost per part is high. For a run of 50,000 parts, the tooling cost per part is negligible.
You must decide if you want to own the dies or rent them. Ownership gives you control over production and future runs. Renting lowers the upfront cash requirement but may cost more over time if the part is produced for several years.
Step 4: Model the production volume
The quantity you plan to buy is the single biggest factor in the per-unit cost. Suppliers price forging based on the volume. A larger order allows the supplier to amortize setup time and labor.
The reason for this step is to use economies of scale. If you need 100 parts, the price per part is higher than if you need 1,000. However, buying more than you need ties up cash. You need a balance between the lowest unit price and a workable inventory level.
Be realistic about the first order. Do not order a massive quantity just to lower the unit price. Start with a smaller run to validate the process and the quality of the part. This reduces the risk of a large financial loss.
Step 5: Include post-fabrication costs
The forging is only the beginning. Most parts require heat treatment, machining, and surface finishing. These steps add cost and lead time.
Heat treatment is often required to achieve the final mechanical properties. A forged steel part is usually softer than the finished product. Normalizing, quenching, and tempering change the hardness and strength.
Machining removes the excess material left by the forging process. It creates the final dimensions. The reason for including this step is that the forging price is just the blank. If you forget machining, your budget is incomplete.
Step 6: Account for quality and inspection
The level of inspection changes the cost. A basic visual check is cheap. A full dimensional inspection, chemical analysis, or ultrasonic testing costs more.
The reason for this step is that quality requirements drive the price. If you are making a part for a pressure vessel or an aerospace application, you need strict certifications. The supplier must test every batch or every part. This labor and equipment time is charged to you.
Define what “good” looks like. Provide a quality plan. Specify the standards for surface finish and dimensional tolerances. Ambiguity here leads to disputes and rework.
Step 7: Build the cost model
Now you have all the pieces. Put them together in a table. This table helps you see the total cost and the breakdown.
| Cost Component | Description | Estimation Method |
|---|---|---|
| Raw Material | Cost of steel bar or billet | Weight of part x material rate |
| Tooling | Cost of forging dies | One-time charge from vendor |
| Forging Labor | Cost of the press cycle | Per-unit rate x quantity |
| Post-Fab | Heat treatment and machining | Per-unit rate x quantity |
| Inspection | Testing and certification | Per-unit or per-lot rate |
| Overhead | Profit and shipping | Percentage of total |
The reason for this step is to make the estimate transparent. You can see which items are fixed and which are variable. It also helps you negotiate. If the tooling cost is high, you can ask if a simpler design could reduce it.
Step 8: Verify with multiple quotes
Do not rely on your internal model alone. Take your definition to at least two or three suppliers. Ask them to price the part based on your specifications.
The reason for this step is to validate your assumptions. Your internal estimate may be off. The market may have different rates for the material or the labor. Comparing quotes reveals gaps in your knowledge.
When you review the quotes, look at the breakdown. Do not just look at the total. See how they split tooling and production. A lower total price might come from cheaper material or less inspection.
Common mistakes to avoid
The most common mistake is underestimating the tooling cost. New buyers often focus on the per-unit price and forget the upfront investment. This leads to budget overruns.
Another mistake is ignoring the post-fabrication. The forging is a rough part. If you forget the cost of machining and heat treating, your final cost will be higher than expected.
A third mistake is using the wrong quantity. Estimating based on a guess rather than a forecast leads to poor pricing. If you only need 100 parts, do not ask for a 10,000 part price.
Final verification step
Before you sign any contract, run the numbers one last time. Check the math. Confirm that the material grade matches your spec. Ensure the quantity in the quote matches your plan.
Verify the lead time. Cost is only one part of the equation. If the price is low but the delivery is slow, it may not fit your project schedule. Confirm the dates in writing.
This final check ensures that the estimate is realistic. It gives you confidence in the number you are using for your budget. It also sets clear expectations for the supplier.
How to use this model for budget planning
Use this method for every new part. Keep a record of your estimates and the final prices you pay. Over time, your estimates will become more accurate.
For budget planning, add a buffer. Market prices for steel fluctuate. Labor costs change. Add a percentage to your estimate to cover these variables. This protects your project from unexpected cost increases.
The goal is not to get the lowest price. The goal is to get a fair price for a well-defined part. A clear specification helps you buy the right thing at the right cost.
Frequently asked questions
How much does forging tooling cost?
Tooling cost varies widely based on part complexity, die material, and expected lifespan. It is a one-time charge that is separate from the per-unit forging cost.
Can I get a cost estimate without a final drawing?
You can get a rough estimate with a sketch, but it will be inaccurate. A detailed drawing with dimensions and tolerances is required for a firm quote.
What is the difference between open-die and closed-die forging?
Open-die forging is for large, simple shapes. Closed-die forging is for complex, precise shapes. Closed-die requires more expensive dies but produces better dimensional control.
How does quantity affect the forging price?
Higher quantities lower the per-unit cost. The tooling cost is spread over more parts. Setup time is also amortized over a larger run.
What is the lead time for forging?
Lead time depends on the part complexity, tooling status, and production schedule. It can range from a few weeks to several months. Confirm dates in the contract.